
What Really Happens When We Shoot a Virtual Tour of a Six-Bed HMO
What really goes into creating a virtual tour of an HMO? We go behind the scenes on a six-bedroom property shoot in Watford, from working around cleaners, bedding and a live fit-out to capturing the 360 photography, building the walkthrough and getting the finished tour online.

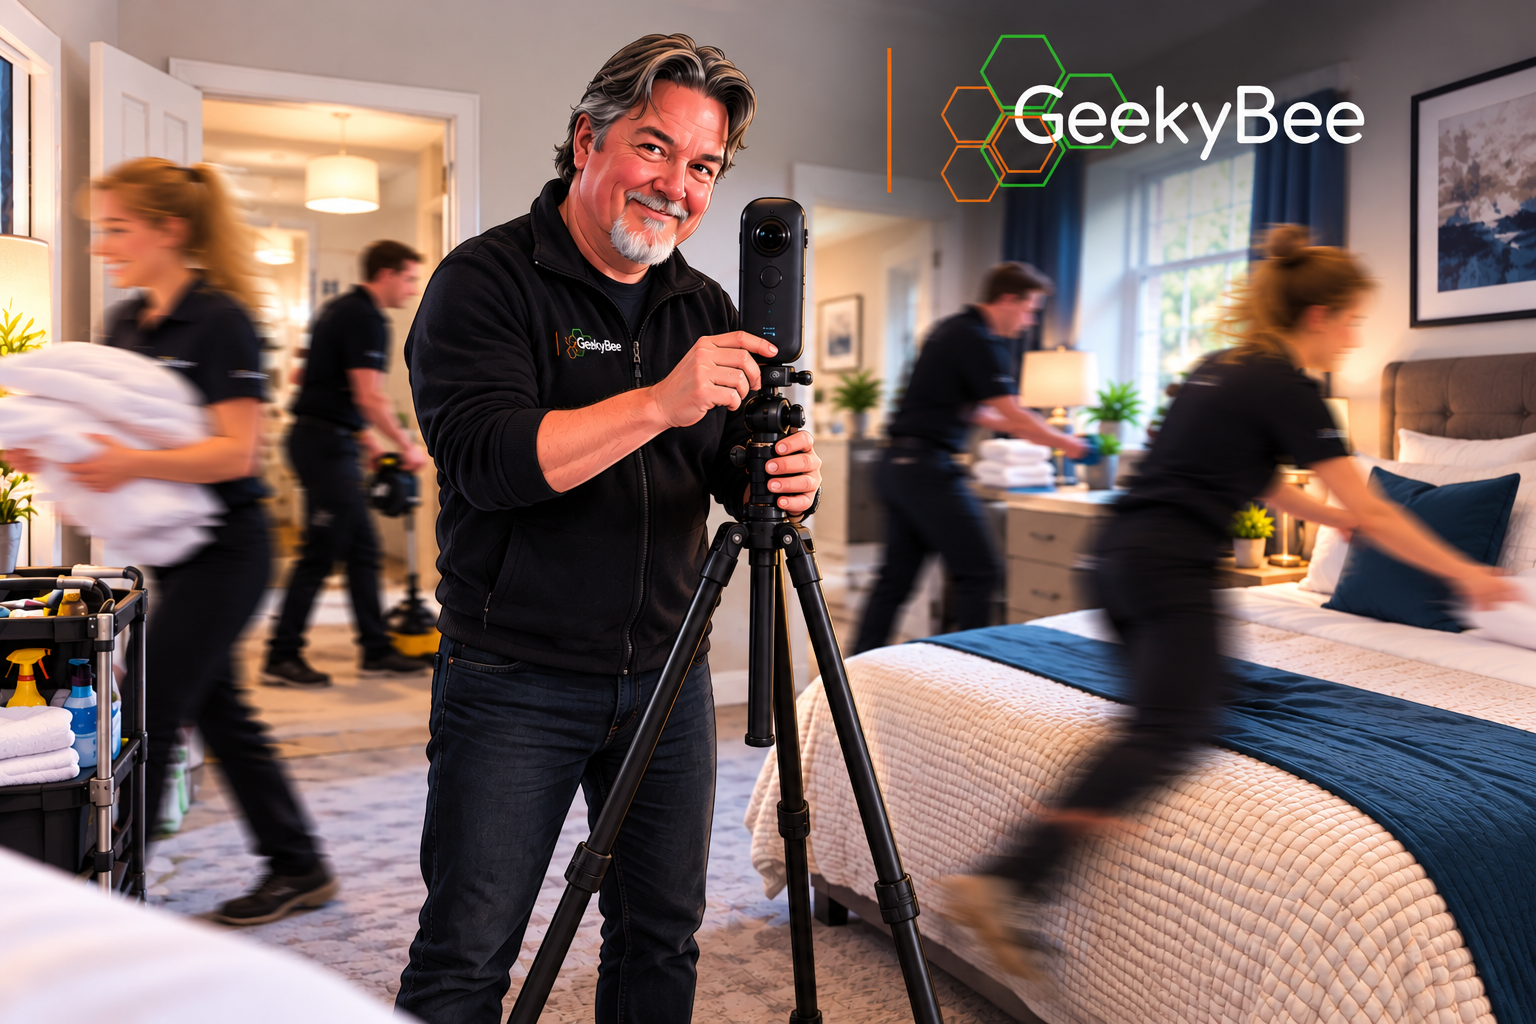
A behind-the-scenes look at creating a virtual tour while a six-bedroom HMO is still being fitted out.
If you've ever been involved in fitting out an HMO, you'll know that "it'll be ready next week" is a fairly flexible concept.
One bedroom can be completely finished while another still needs a final clean. Somebody is fitting something upstairs, there's a vacuum cleaner running somewhere else, and the bedding that made one room look perfect ten minutes ago is now being moved into the next.
That's pretty much the reality I walked into recently when I photographed a six-bedroom HMO on Hagden Lane in Watford for Harvey Row.
Its director, Matt, is someone I've worked with for years and, over that time, has also become a very good friend. We've done enough of these shoots together to know that photographing a property during the final stages of a fit-out requires a plan - but also the willingness to throw that plan out of the window when room three isn't ready, and room five suddenly is.
And taking the photographs is really only half the job.
So I thought it might be interesting to show what actually goes into creating one of these virtual tours, from agreeing the date and working around the fit-out team to processing the 360-degree photography and eventually turning hundreds of images into something a prospective tenant can actually walk through.
First, we agree a date - in pencil
Usually, I get a heads-up about a week before the property is expected to be ready. Matt has a reasonable idea of where the fit-out has got to; I send over the days I'm available, and we put something in the diary.
But at this stage, it's definitely in pencil!
There are simply too many moving parts. A contractor can run late, a room might need another coat of paint, furniture can be delayed, or access to the property can change. Some HMO operators own the building; others rent a property and sublet the individual rooms, so access isn't something I ever take for granted.
At the beginning of the week, usually on Monday, I check in. Are we still looking good? Can we definitely get in? Are most of the rooms going to be ready, or would another day make more sense?
Then I check again the day before, and we firm up the time.
It only takes a couple of calls, but it's much better than turning up with several cameras and half a day blocked out only to discover that the decorators still have the place.
Arrival and the first walk-through
On the day, I aim to arrive about half an hour early. HMOs are often in busy residential areas, so that gives me time to find parking and deal with any restrictions before the agreed start time.
Once inside, I meet Matt or one of his team and have a quick walk-through of the house. Which bedrooms are ready now? Which ones can be made ready while I'm working? Is somebody still hoovering, making beds or moving furniture?
By the time we've walked around, I've usually got a workable order in my head. There's no point starting with room one simply because it's room one if room four is ready to go.
For a six-bedroom HMO, I normally allow four to five hours on site. We may finish sooner, but it gives us some breathing room for rooms to be cleaned, beds made and last-minute jobs finished.
Trying to squeeze everything into two hours just makes everyone rush and can leave us working much later than planned.
Bedrooms: keep the dressing moving
I prefer to start at the bottom, at the back, and work forward. It helps me keep track of what I've photographed, but if room four is ready and room three still needs its bed made, room four wins. There's no prize for photographing the bedrooms in numerical order.
Matt normally has someone on hand to help with staging. We may have two sets of bedding, cushions, pillows and other dressing items in rotation. While I photograph one room, the next is being prepared, then the dressing can move on again. It's a bit like a relay race, except nobody should be sprinting with a duvet.
I usually capture around five 360-degree positions in a bedroom, knowing that I may discard one or two. What looks like a good position in the room can turn out to be too close to a wardrobe or simply add nothing to the tour. In a small single bedroom, two or three positions may be plenty - five is a working habit, not a target.
I open the curtains where possible and switch on the main light and bedside lamps. During a fit-out, not everything is necessarily connected yet, so I work with what's available. The aim is to give the viewer a realistic sense of the room, its daylight and how the furniture fits.
If one bedroom isn't ready, I move to another. If none are ready, I photograph the communal areas instead.
Having someone from Matt's team there means we can keep things moving rather than waiting around for the next room.
Bathrooms and the small details the camera sees
Bathrooms, shower rooms and toilets need a different approach. A small space may need just one good 360 position, while a larger bathroom might need two or three. I may also try the lighting on and off to see which gives the better result.
Before photographing a bathroom, I have my little checklist: toilet seat down, shower door closed, surfaces wiped, and any toothbrushes, toothpaste, flannels or soap put away. I even like the toilet roll folded to a neat point.
It might sound fussy, but a 360-degree camera is wonderfully unforgiving - it sees everything, including the toothpaste nobody noticed behind me. A quick check before each shot saves a lot of annoyance later.
Photographing the spaces everyone shares
I normally take at least five positions in a living room or other shared area. I think about where someone would naturally stand, sit or move through the room. A single view from the doorway tells you surprisingly little about what it would actually be like to live there.
The kitchen often needs more. It's a space a prospective tenant will use every day, so I photograph it from the places where they'll actually do things. What can you see from the oven? Where will you wash up? Where's the laundry area? How much cupboard and fridge space is there?
I might take six, seven or eight positions in a kitchen, but each needs a purpose. Eight nearly identical views from the same corner don't tell the viewer anything new.
The corridors make it a tour
Once the rooms and shared spaces are captured, I return to the front door and photograph the routes through the building - the entrance, outside each room, changes in direction or level, and the approaches to the kitchen and living areas.
Doors need particular care. If a corridor connects to the kitchen, for example, I want a position on both sides of the doorway. That gives me sensible points to link together so the viewer can move naturally from one space to another.
I photograph the corridors even if some bedrooms aren't ready. They create the framework of the tour, so a room photographed later can easily be connected to the right place.
Those corridor shots are what turn a collection of 360 photographs into a tour - allowing someone to start at the front door, walk past the bedrooms and into the kitchen without suddenly jumping across the building.
The extra photographs that give the house character
Once the 360-degree work is finished, I pack those cameras away and walk around with my phone, looking for the details that give the property some character - a fireplace, a nicely presented television area, flowers, shelving or other finishing touches.
These are ordinary photographs to complement the virtual tour rather than navigation points within it. I might take 20 or 30, knowing that we won't necessarily use them all.
Matt can then help choose the details he particularly wants people to notice.
After that, my work on site is finished. I say goodbye to the team and head back to the office - but there's still quite a lot of work to do before anyone can actually walk through the finished tour.
From camera files to a walkable property
I use different cameras for different jobs, including Insta360, Ricoh Theta and Canon equipment. For the Hagden Lane shoot, I mainly used the Canon, whose dual-fisheye images first need to be converted into the equirectangular format used by the tour.
As part of the processing, I check the horizon on every image. Modern cameras do a good job of levelling automatically, but even a slight tilt becomes noticeable as you move through a virtual tour, so anything that's off gets straightened.
I then sort the images by room and work through brightness, contrast and colour. Images from the same room usually need similar adjustments, but each one still gets checked individually. The aim is to make the property look its best while still looking like the property we actually photographed.
Finally, I start building the tour: linking positions within each room, connecting bedrooms to corridors and adding the shared spaces. Then I test it from the front door as if I've never seen the house before. Can I find room one? Can I get back to the hall? Can I walk into the kitchen without a strange jump?
If I can't, I fix the link.
Branding and information beyond the images
We also agree how the tour should look and work - the floor hotspots, markers on doors and how people move between floors. As Matt has several properties, we can carry the same style across all of his tours.
The opening view can include Harvey Row's logo and contact details, and we can add floor plans, room sizes and individual room information. This lets someone explore a bedroom and check the practical details without leaving the tour.
We can also include useful information about the surrounding area, such as railway stations, bus stops and nearby schools. For someone choosing where to live, those details can be just as important as the property itself.
Review, revisions and going live
Once I've assembled the first version, I upload it for Matt to review. He can walk through the house as a prospective tenant would and flag anything he'd like changed - perhaps a different opening view for a bedroom, an adjusted link or a change to some of the information.
I also make the photographs available so we can decide which ones work best. Matt might prefer a detail shot I've left out, want fewer pictures of the décor, or want another photograph included.
By this point, the main walkthrough is usually working, so it's really about refining how the property is presented.
Once Matt is happy, I finalise everything, issue the invoice and make the approved tour live. Hosting is included for the first year, with continued hosting available after that for a separate charge.
For an operator with several HMOs, GeekyBee can also bring all their property tours together on a branded page. Someone can follow one link, find the property they're interested in and open the relevant tour, with the page designed to feel like a natural part of the operator's existing website.
What makes the shoot run smoothly?
If you're arranging a shoot like this, the most useful things you can do are confirm access, be realistic about which rooms are ready and have someone there who can answer questions and help with the dressing. A quick clean before each room is photographed also makes a big difference.
Room sizes, floor plans and descriptions can follow later, although it's useful to have them ready when we start reviewing and building the finished tour.
At Hagden Lane, as with plenty of HMO shoots, rooms were being prepared around me. I photographed what was ready, moved when I needed to and kept the route through the house in mind throughout.
The end result should feel simple. Someone opens the finished tour, lets themselves in at the front door, finds the bedroom they're considering, explores the kitchen they'll use every day and understands how everything connects.
If they can do all of that comfortably, then the hours spent photographing, processing and joining everything together have done their job.